How to Make a Fidget Vending Machine? 7 Step Process Guide
Do you want to add a fun game to your office? Continue reading to learn how to make a fidget vending machine with our easy and enjoyable tutorial.
Fidget toys are designed to relieve stress and lessen anxiety, making them famous among adults. If you work in a stressful environment and want to spread positive vibes, here’s an incredible idea.
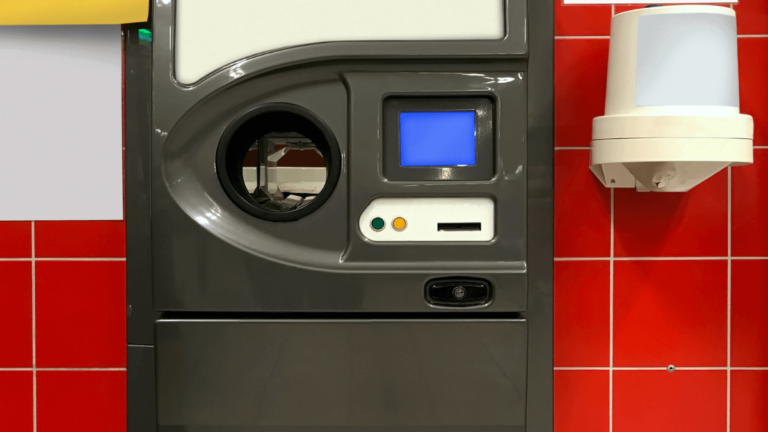
You can craft a fidget vending machine that drops fidget toys every time someone uses it, and we’ll help you. You can transform a shoebox into a vending machine with some crafting skills and a dash of creativity.
You’ll only need to make a few openings in the box using a cutter, decorate it with coloring pencils, and fill it with fidget toys.
Now that we’ve given you a broad idea, it’s time to give you a detailed tutorial on how to make a fidget vending machine.
So dust off your crafting tools, and jump in!
RELATED READ:
7 Steps to Make a Fidget Vending Machine
Here are the steps you need to follow to make a fidget vending machine.
1. Prepare Your Tools
Before you start working on your craft, you should prepare your tools. For starters, you should get an old shoe box, white paper, cutter, glue, tape, scissors, and an elastic band. These are the tools you’ll use to build the vending machine.
Second, you can grab a few coloring pencils or pens to decorate the machine and label it. Finally, you’ll need a bunch of fidget toys to put inside the machine. Once you prepare these tools, you can start crafting.
2. Wrap the Shoe Box
The first step in making a fidget vending machine is to wrap the shoe box with white paper. Start by removing the box cover and putting it aside.
Next, adjust the box so that its opening is directed away from you. Cover the base of the box by gluing it with white paper. Then, use tape to secure the sides of the paper to the box.
3. Outline the Vending Machine
After wrapping the shoe box, put it vertically in front of you. Then, grab a 2B pencil, and draw two narrow horizontal rectangles at the top. Next, go down a few inches, and draw a vertical rectangle on the right side.
Finally, draw two vertical lines and one horizontal line to enclose a large square against the box’s bottom line.
Next, use the cutter to cut these rectangles. Right now, the box should have four openings, with the bottom square being noticeably larger.
4. Decorate the Box
In this step, you should grab your coloring pencils and start decorating the box to make it look more like a machine. First, draw two squares under the upper horizontal rectangles and write ‘Bank Card’ and ‘Dollars’ inside them. You can also draw a real bank card and dollar under them for extra glam.
Second, draw a large square next to the vertical rectangle in the middle of the box and write ‘Fidget Toys’ inside it. Finally, write ‘Have Fun’ above the bottom square and draw a tiny down arrow next to it.
5. Build the Insides of the Machine
After finishing the outside look, it’s time to build the machine from the inside. First, cut a piece of cardboard that fits horizontally in the shoebox, and put it right under the upper rectangles. Then, cut a tiny cardboard square and tape an elastic band to it so that the square is inside the band.
Tape the square and band to the bottom side of the cardboard piece you fit inside the box earlier. This way, the square should be right above the vertical rectangle.
Grab another piece of cardboard, and draw two vertical lines and one horizontal line near the bottom to enclose a square against the cardboard’s bottom line. Next, use a cutter to cut this square and bend the two cardboard pieces that are now dangling.
Go to the upper side of the cardboard, and draw a short vertical line that extends from the cardboard’s upper line. Make sure the vertical line is slightly toward the left side, not in the center. Next, extend a horizontal line from the tip of the vertical line to the right line of the cardboard. Again, cut this rectangle you just drew.
Tape a thin wooden stick to the left side of the cardboard, which should look taller than the right side now.
Finally, it’s time to fit this cardboard piece inside the shoe box. To do so, push it inside so that the wooden stick pulls the elastic band downwards and passes through the vertical rectangle. Tape the dangling two sides to the shoe box to prevent them from moving.
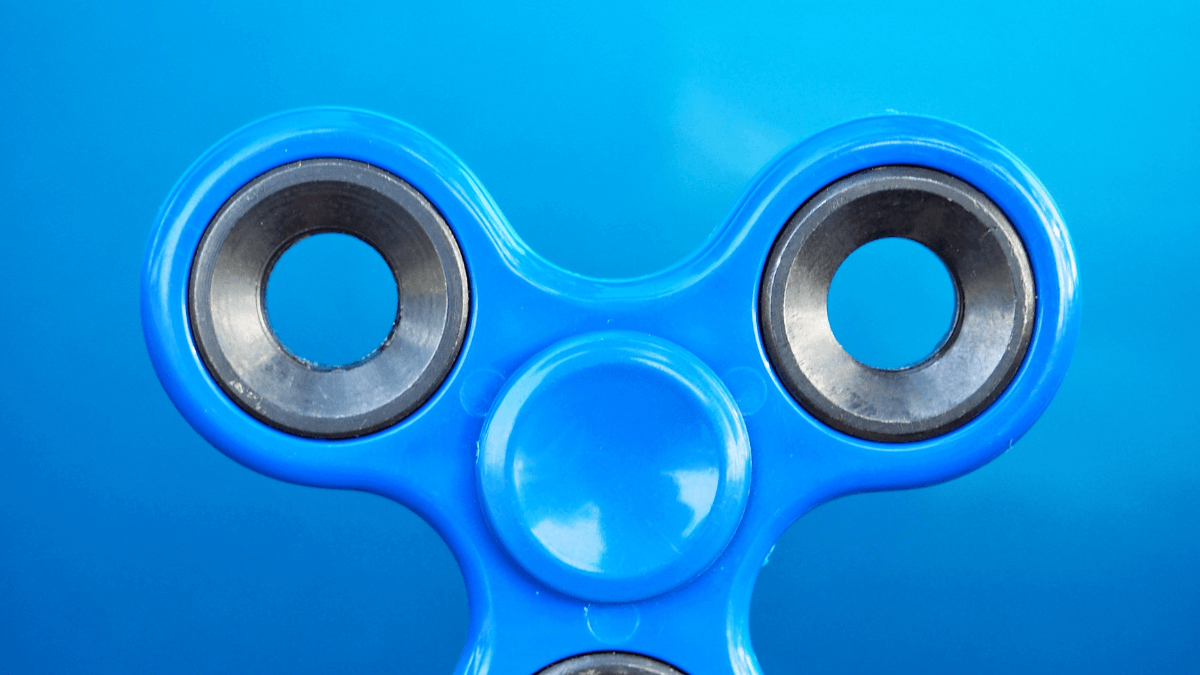
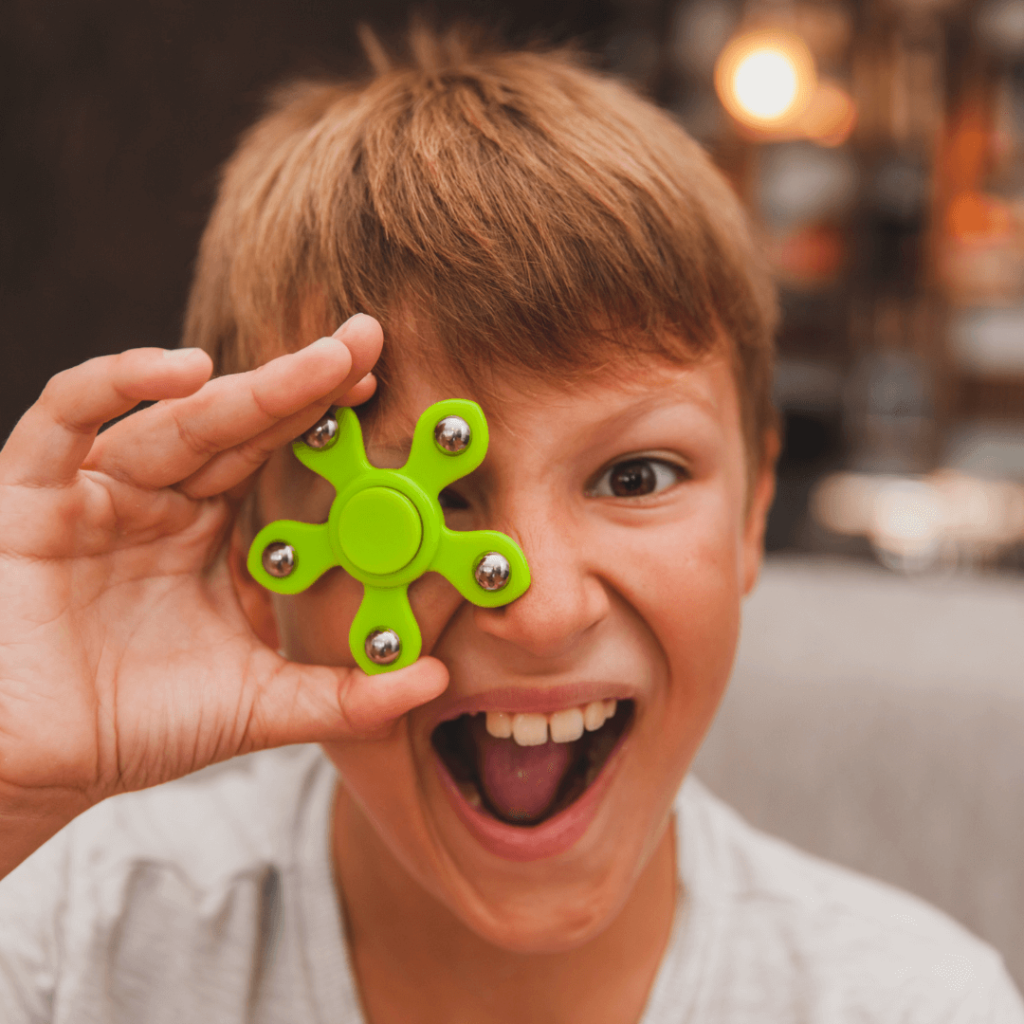
6. Put the Fidget Toys Inside
Ideally, you should only put small fidget toys inside the fake vending machine. However, if you want bigger toys, you can use a cardboard box bigger than a shoe box. Put the toys on the cardboard piece you last fit into the box above the vertical rectangle. They should be directly behind the square that says ‘Fidget Toys.’
7. Test Your Machine
After filling the vending machine with your toys, you can finally test it. To do so, slip a dollar inside the upper-right rectangle to keep it real.
Then, pull the wooden stick downwards. This move will cause the cardboard piece holding the toys to move downwards and drop a fidget toy. And voila!
You now have a fun game in the office to lighten up the employees’ moods and keep them relaxed.
To Wrap Up
Do you want to spread fun vibes in your office?
If so, here’s a great idea that you can make in no time. You can craft a fidget vending machine out of a shoebox and some cardboard pieces. It’ll look just like a real one, and it’ll drop a fidget toy every time someone uses it. And the best part?
It doesn’t require any materials that you don’t already have in your cupboard.